DIY Pop-Up Father's Day Card Tutorial: Step-by-Step Guide
To read this tutorial in Spanish, click here.
Para leer este tutorial en español, haz clic aquí.
Hi kids,
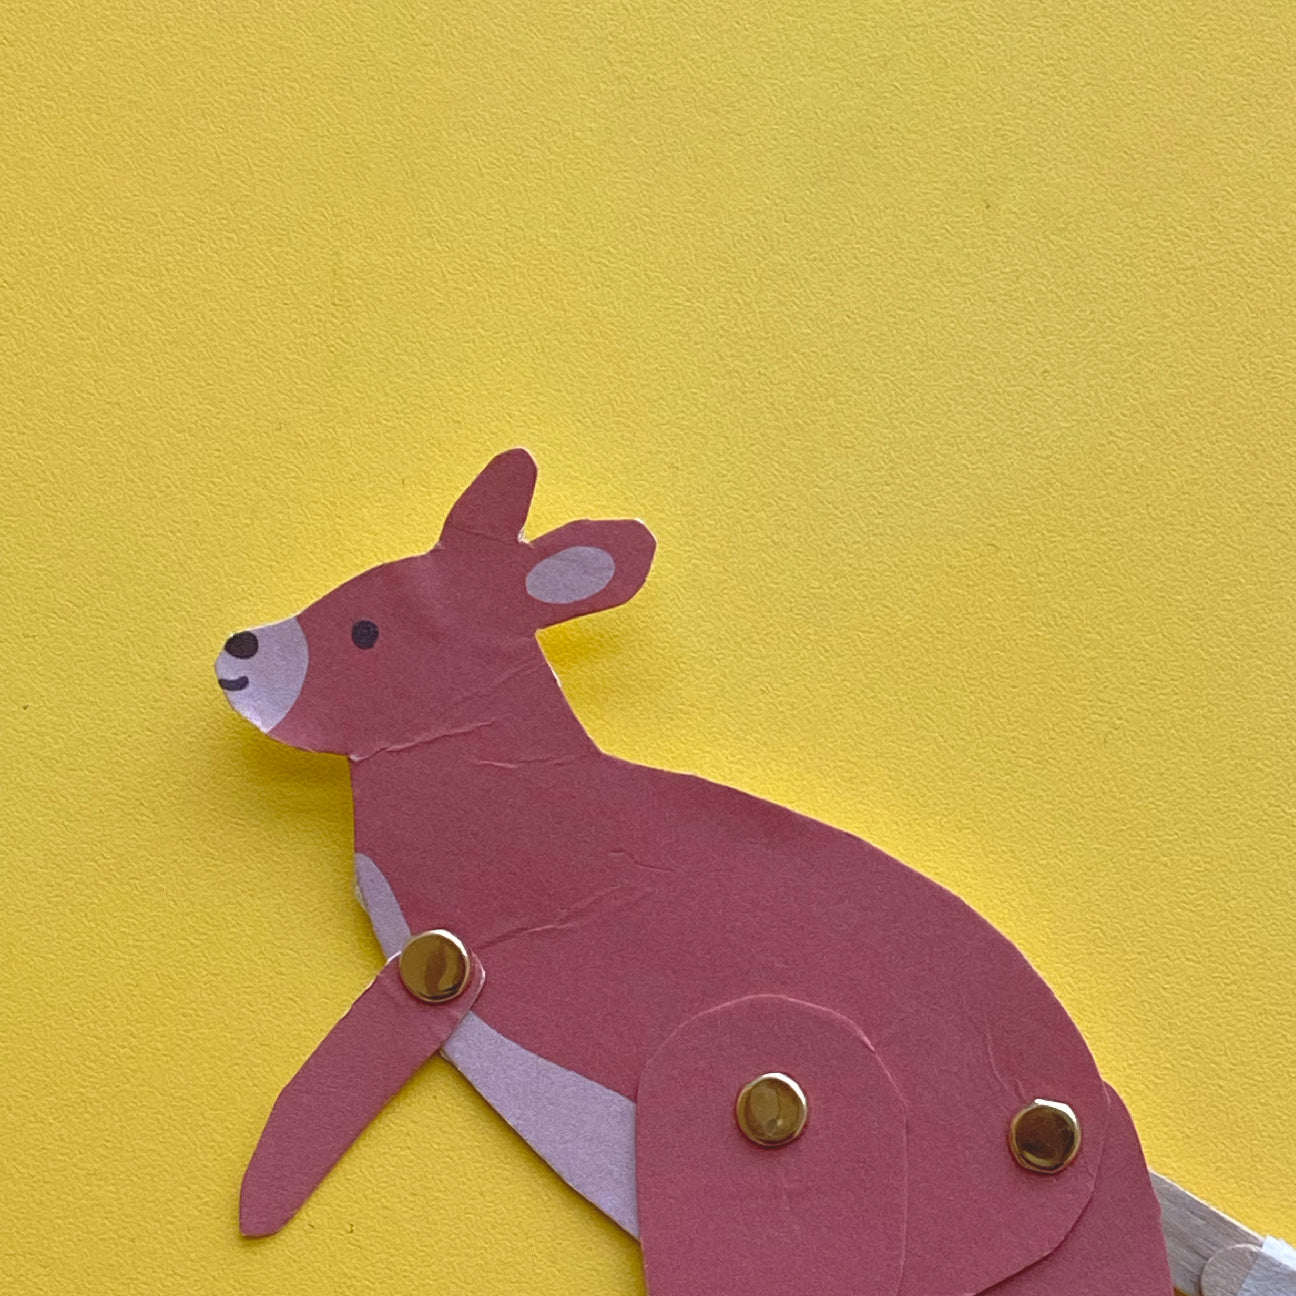
Today I have an incredible idea for a card you can give to your dads on Father's Day. It's a pop-up card featuring our character from the Red Caribou Spring-Summer 2024 collection.
Download our printable PDF template right here and follow along!
First, let's gather the materials we will need.
Materials Needed
- 2 letter-sized cardstocks.
- Glue (a strong adhesive is recommended)
- Scissors
- Drawing and writing materials (colors, markers, feel free to get creative!)

Step 1: Printing the Artwork
Print the artwork we provided on white letter-sized paper or cardstock. If the cardstock isn't too thick, your home printer should be able to handle it. If you're concerned, you can print on normal paper and then glue the printed sheet onto not-too-thick cardstock.
Note: Print at 100% scale on letter-sized paper.
Step 2: Assembling the Moving Character
Prepare your card. You can use cardstock in any color and thickness you like. If you’d like to use the card template we provided, use white or light-colored cardstock to print it. First, fold it in half. Cut out the pieces of the printed artwork. There are four pieces, labeled A, B, C, and D.


Piece A is the structure and has fold lines. It also indicates where pieces B, C, and D should be glued.
Fold the structure along the fold lines. Make the creases as sharp as you can.


Step 3: Gluing the Pieces
First, glue piece A onto the card. The part labeled "Bottom" will go on the bottom face of the card. Glue it in the center, aligned with the card's fold line, as shown in the image.

Next, glue the upper tab to the other face of the cardstock. To do this, extend the cardstock and glue it where it reaches without effort.


Step 4: Time to Paint!
If the structure is all set, now we can paint the card. Add a nice dedication for Dad. Tell him everything you feel and what you are grateful for! You can also do this step first if you prefer.
I hope you enjoyed this tutorial. I'm sure your dad will love this thoughtful gift!


Leave a comment
This site is protected by hCaptcha and the hCaptcha Privacy Policy and Terms of Service apply.