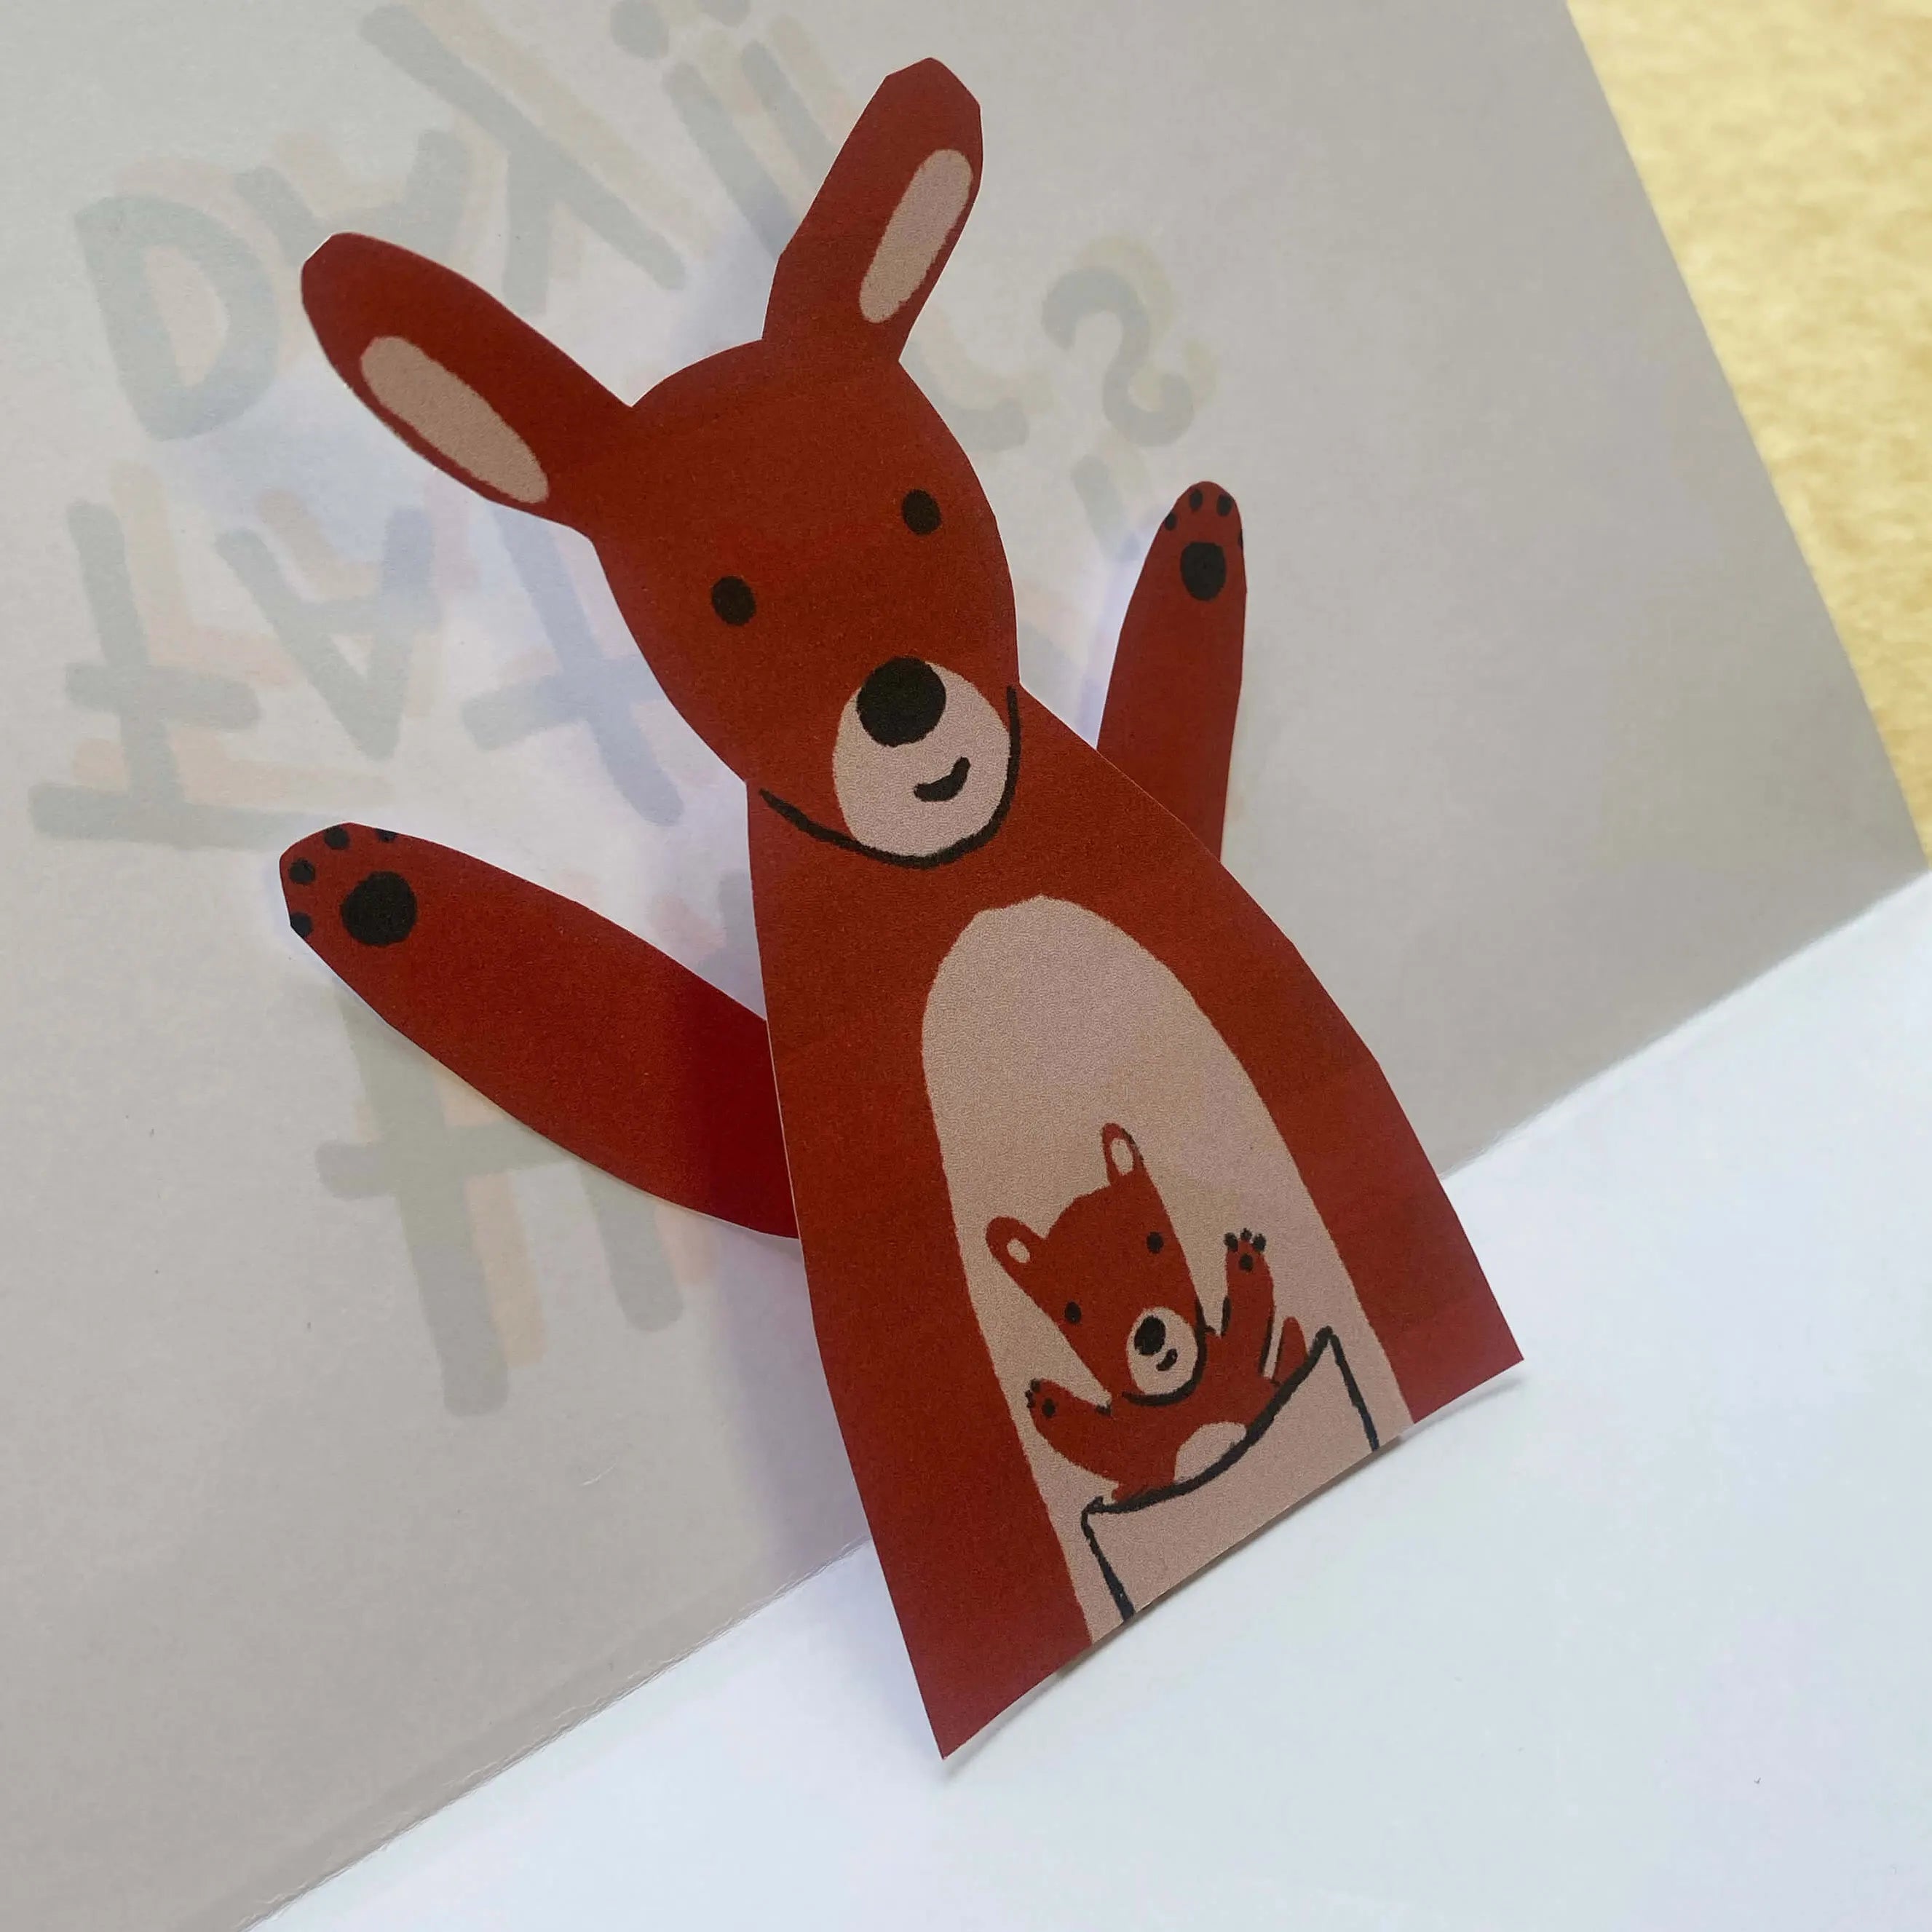
DIY Articulated Paper Kangaroo: Step-by-Step Guide
Hello! Today we're going to make an Articulated Paper Kangaroo. Let's have fun and create something awesome together!

Materials Needed:
- Printed PDF (on regular paper)
- Scissors
- Glue
- Tape
- Awl or Hole Punch
- Brads
- Long Sticks
- Duplex or Corrugated Cardboard

Step 1: Cutting the Kangaroo
First, we'll glue the printed paper onto the cardboard. Apply glue to the back of the printed sheet, making sure to cover all the kangaroo figures. We'll only glue the top half of the paper, as the kangaroo on the bottom is just a guide. Make sure it's well-adhered and wait for it to dry completely.
Next, we'll cut out the parts: the body, legs, and tail.
Step 2: Creating the Joints
Now that we've cut everything out, we'll make the holes for the brads. You can use an awl, but be very careful not to prick your fingers. It's best to do this with the help of an adult. Make holes the size of the white circles on the printout or the size of the brad tips. Alternatively, you can use a hole punch, aligning the white circles with the punch cylinder.


Once you have all the holes made, insert the brads. Use the guide to align the holes correctly. After inserting them and spreading the prongs, you can put a bit of tape over them to keep them in place. This step is optional but will give a cleaner finish.

Step 3: Adding the Sticks
This step is optional but allows for more freedom of movement. Attach one end of the first stick to the kangaroo's body (using folded tape) and the end of the other stick to the back leg.

And there you have it!
Time to Play!
Now you have an articulated paper kangaroo to play with. Feel free to create a backdrop and other animals so it has friends to play with.
See you next time!


Leave a comment
This site is protected by hCaptcha and the hCaptcha Privacy Policy and Terms of Service apply.